Build a Coffee Station Without Giving Up Your Counter
Shopping note: This guide links directly to retailers. We do not earn a commission from these links. Read our disclosure. This is a research-based buying guide.
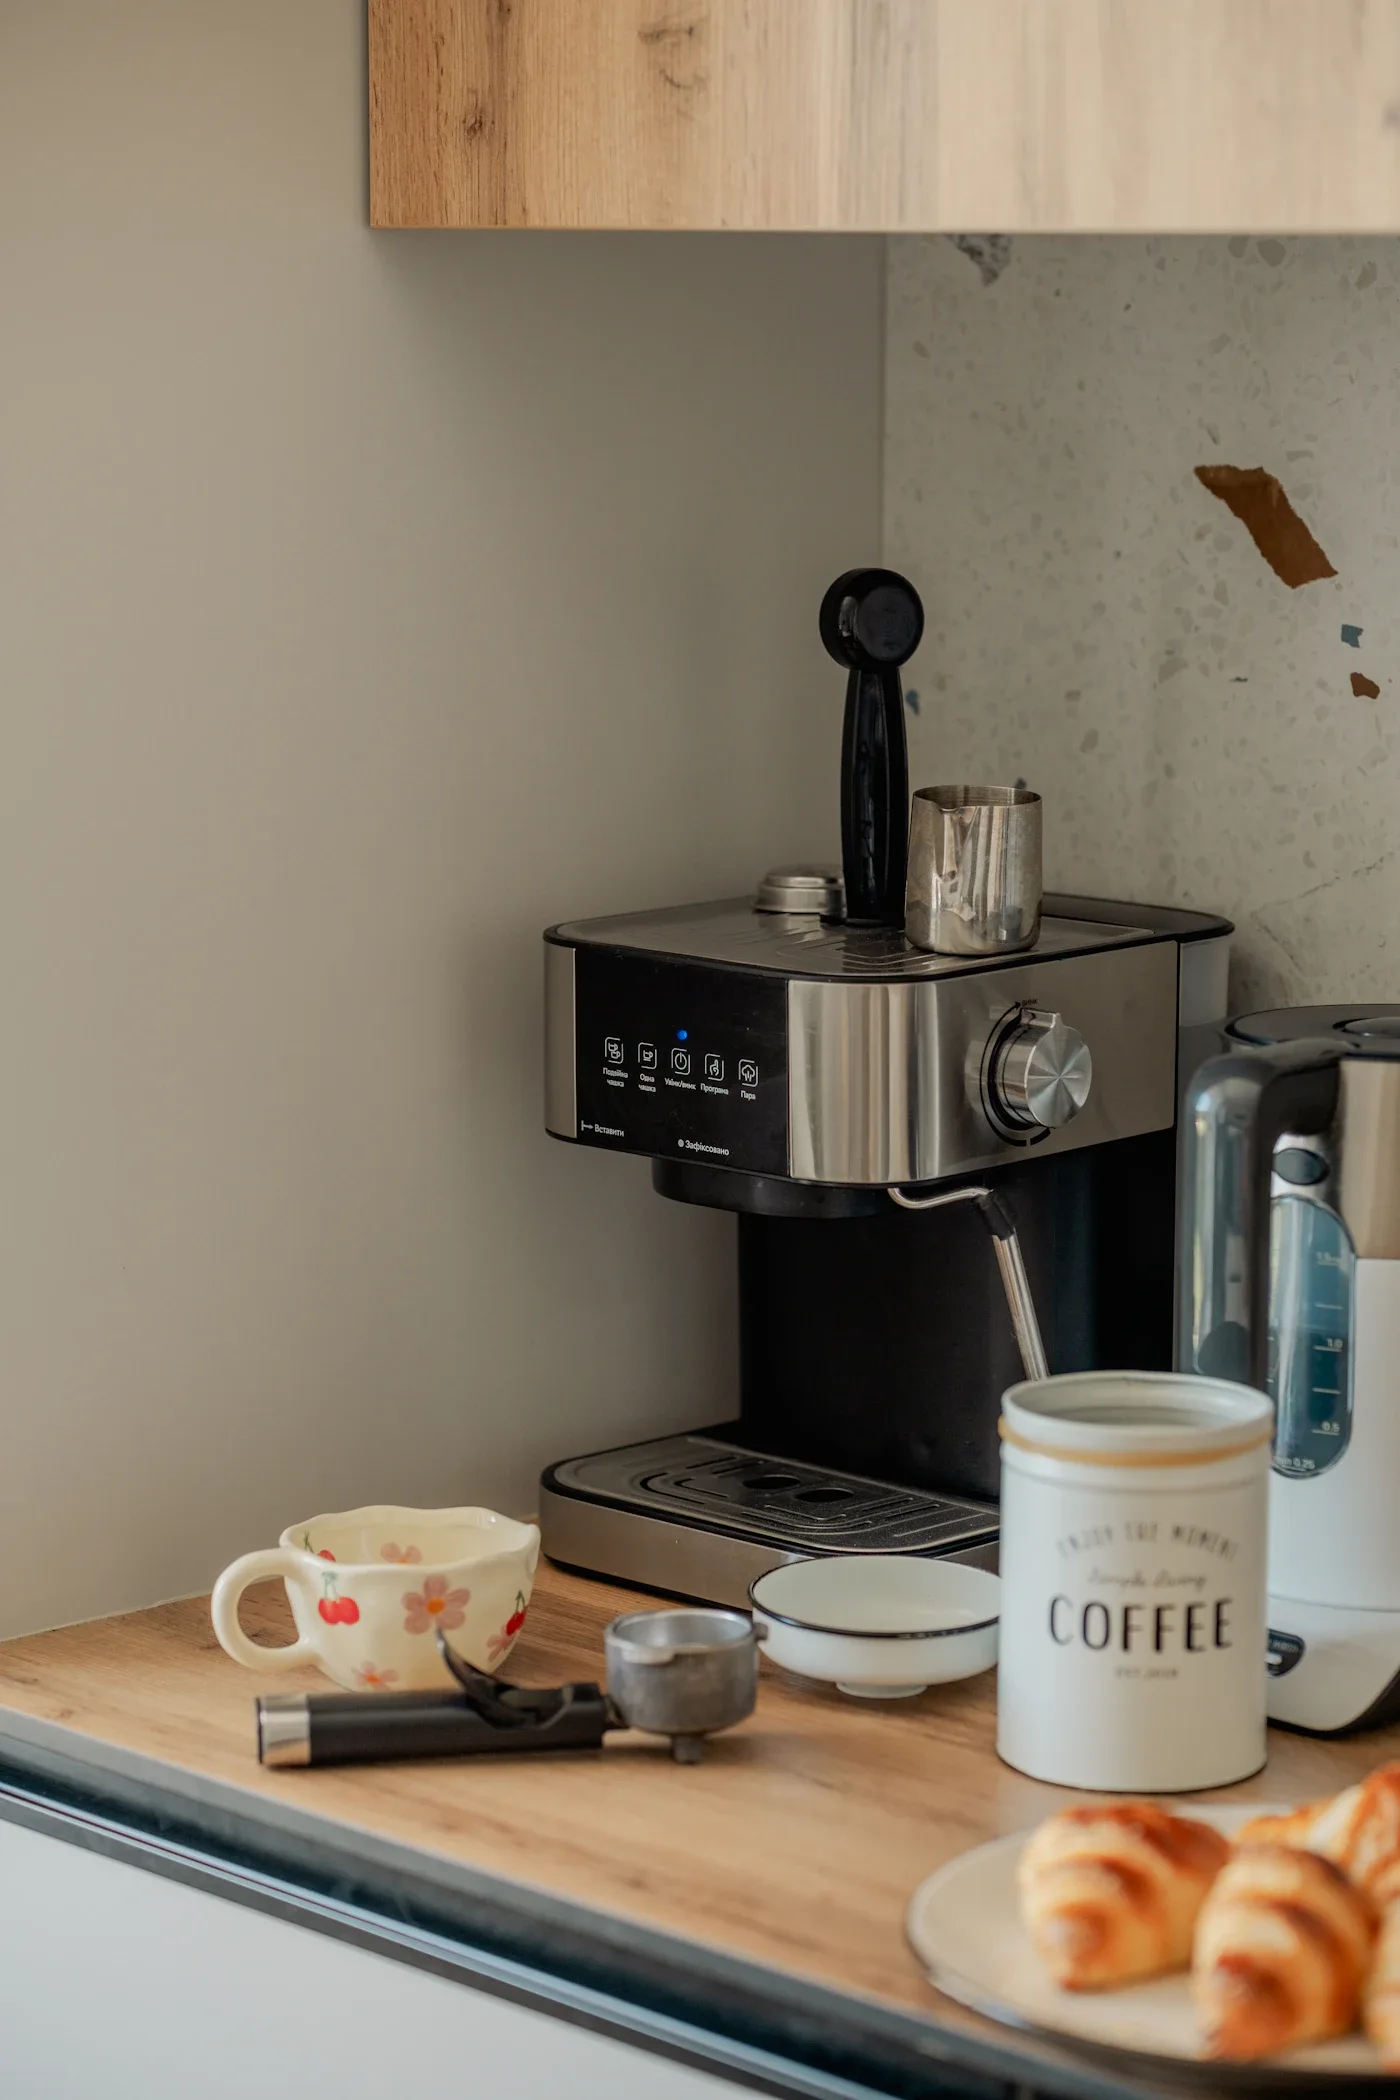
A coffee station becomes frustrating when it takes over the one surface large enough to chop dinner. In a small kitchen, the goal is to make coffee easy while allowing the counter to return to cooking. Start with how many drinks you make and how much equipment those drinks genuinely require.
Our recommendation: organize around one primary brewing method, keep only daily supplies within reach, and measure the brewer in use rather than only at rest. A compact manual setup suits some households; a modest drip machine can be the better space investment when several people want coffee at once.
Describe your actual morning
Do you make one cup before leaving, refill a mug while working from home, or prepare a pot for two people? Do you grind beans every time? Does anyone drink decaf or use a different method? Those answers determine storage more usefully than a photograph of an elaborate coffee bar.
List everything the daily process touches: water, brewer, coffee, filter, mug, spoon, and a place for used grounds. Include the cleanup route to the sink. A station on the opposite side of the kitchen may look tidy while adding several trips to each brew.
Choose the smallest useful system
| Brewing setup | Best fit | Counter-space advantage | Tradeoff |
|---|---|---|---|
| Manual pour-over | A person comfortable with a hands-on cup | Small brewer may store in a cabinet | Still needs hot water, filters, and a safe brewing surface |
| Compact drip machine | Several cups on a predictable routine | One appliance handles the brew | Needs permanent space and filling access |
| French press | Someone who enjoys that brewing method | Can be stored after use | Grounds cleanup and separate hot-water equipment |
| Cold-brew setup | A household that prepares coffee ahead | Brewing can happen away from the daily prep area | Requires planning and suitable refrigerated storage as directed |
OXO's coffee-maker collection shows several of these formats. Compare the complete routine rather than assuming the smallest brewer produces the smallest total setup.
Account for moving parts and steam
Measure the height with lids open and the room needed to remove reservoirs, baskets, or carafes. Check how far the appliance must move for refilling. Follow its placement and ventilation instructions, including any required clearance from overhead cabinets.
Plan a suitable outlet location for powered equipment. Keep cords clear of water and normal work routes, and follow the appliance's electrical instructions. A decorative tray should not force hot equipment into a cramped corner or make the surface unstable.
For a compact manual example, OXO's pour-over maker with water tank lists a tank with markings up to 12 ounces and a lid that also serves as a drip tray. Those are published features, not a taste-test endorsement. You still need a suitable cup, coffee, filters, and a way to heat water.
Keep the supply zone small
Put the amount of coffee you use routinely near the brewer, stored according to the coffee supplier's guidance. Keep spare filters and less frequently used equipment in a nearby cabinet rather than displaying every accessory.
A shallow bin can group filters and a scoop. A mug rail can look appealing, but cabinet storage may keep the counter clearer and avoid hanging objects above a working area. Choose the solution that fits your available wall, shelf, and cleaning routine.
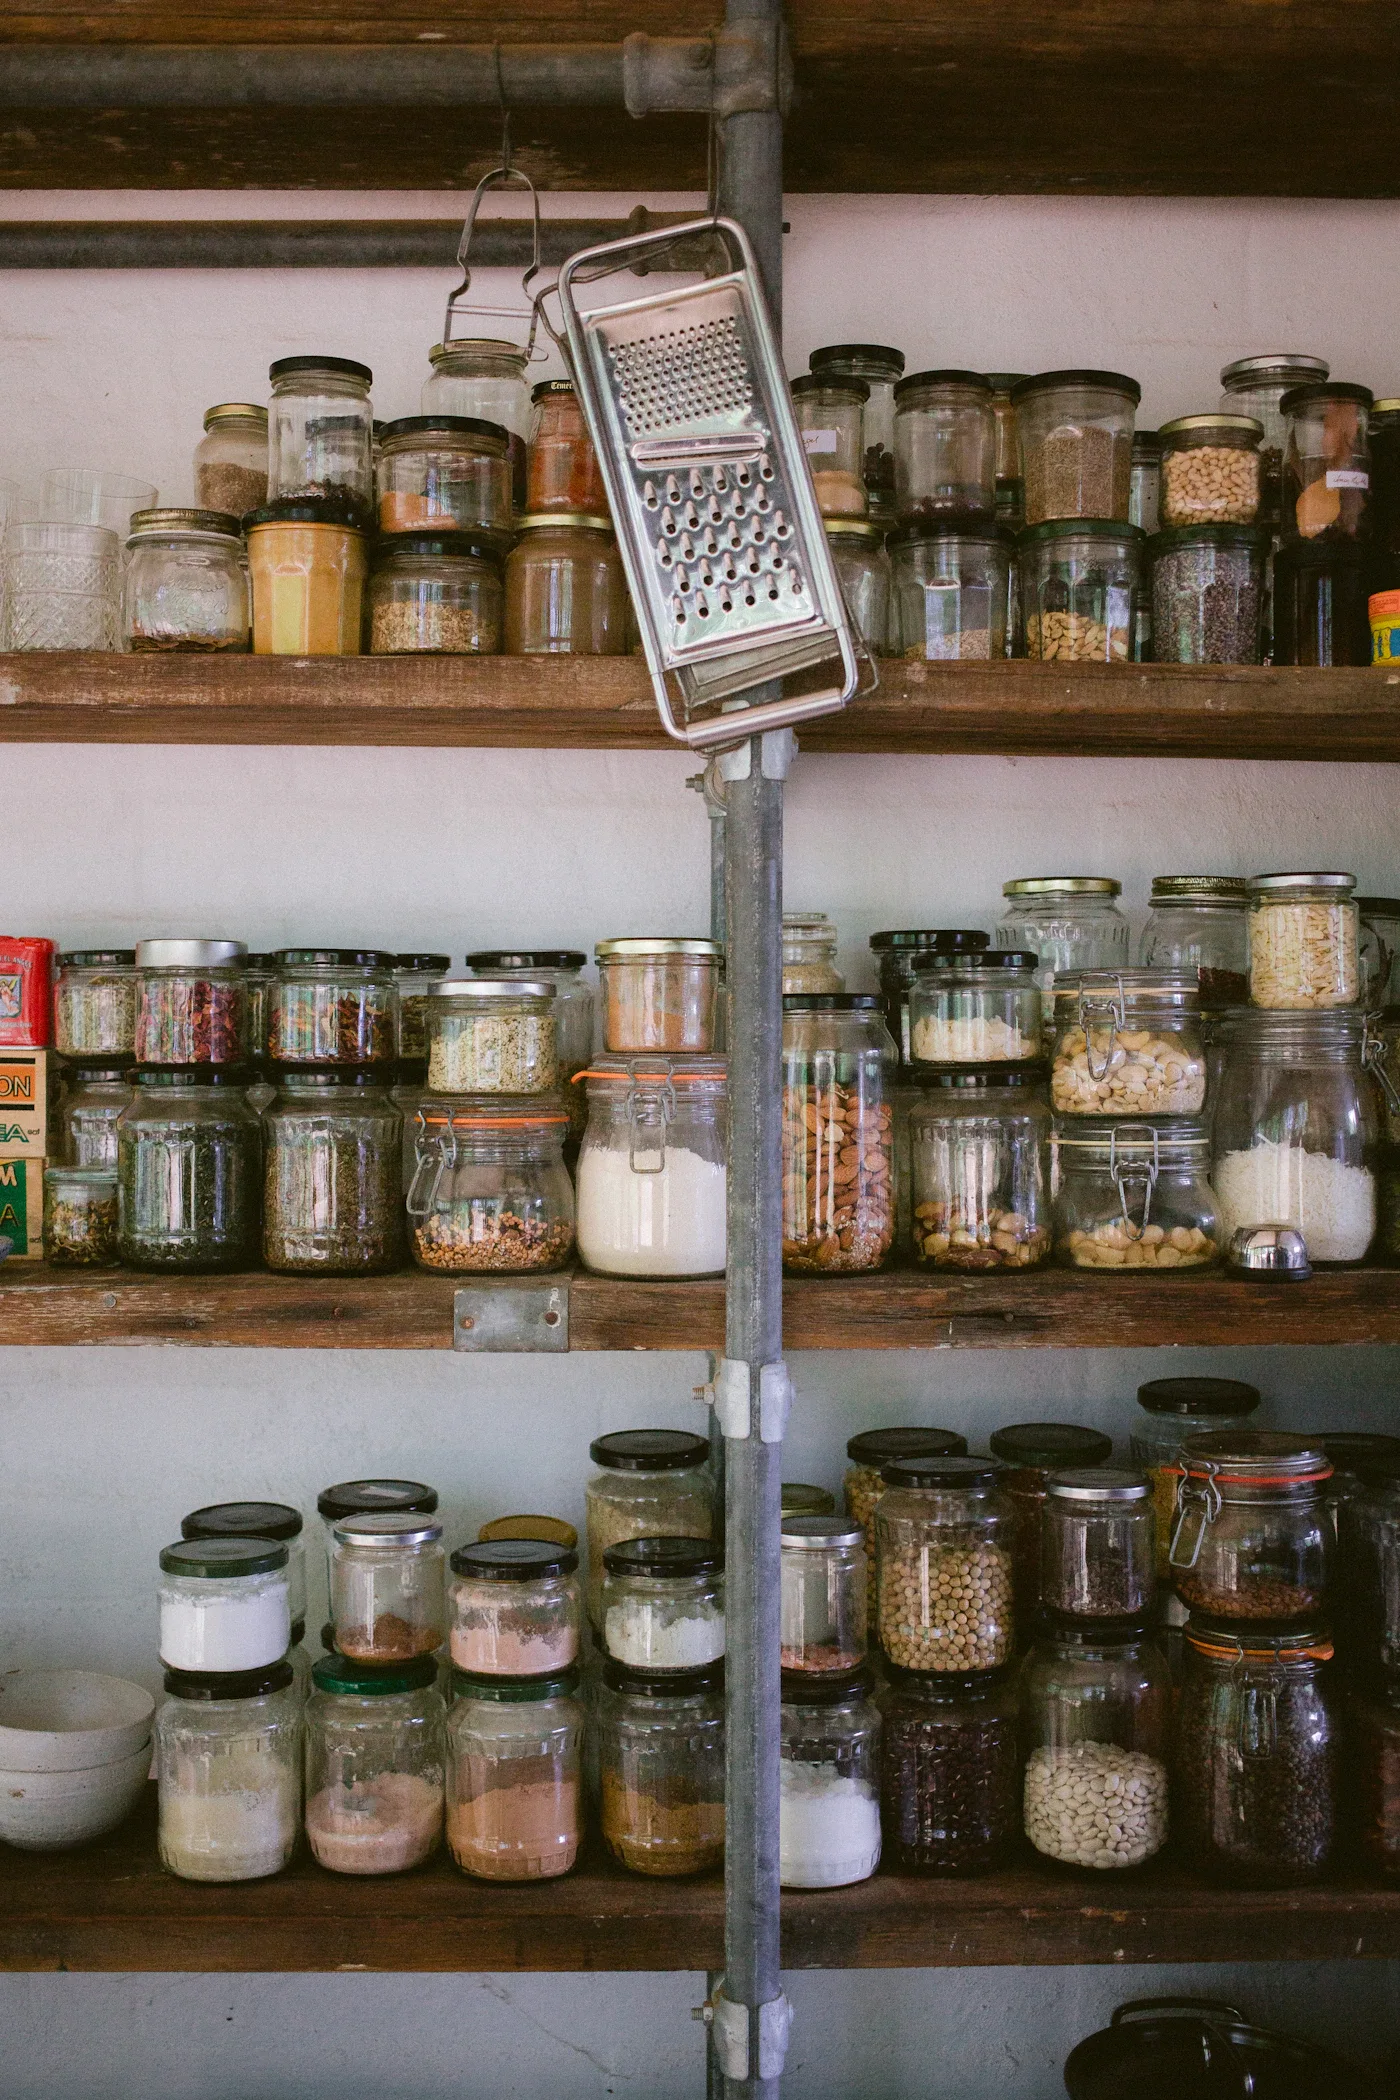
If you decant coffee, preserve the identifying and date information you need. Our pantry-container guide explains why a useful container system starts with package size and access rather than matching labels.
Make cleanup part of the layout
Allow somewhere for the used filter or brewing parts to go immediately after making coffee. Avoid treating the finished cup as the end of the process; a dripping brewer left on the food-prep area makes the station feel larger than it is.
Read the maker's cleaning and descaling instructions. Check which parts can be washed in the dishwasher and which need another method. A system you enjoy cleaning is more likely to remain a tidy part of the kitchen.
Do not buy the accessories first
Choose the brewer before a fitted tray, storage tower, or collection of canisters. Otherwise the accessories may dictate the layout and make a compact machine occupy a surprisingly large footprint.
Pay extra for a grinder, scale, or specialized kettle when it supports the method you use and the level of involvement you enjoy. A station can be complete without every tool seen in a cafe.
Common questions
Is a separate coffee cart a good idea?
It can be, if the location has appropriate power, clearance, and access to water and cleanup. Check that the cart is stable and rated for the equipment rather than choosing by appearance alone.
Does manual brewing always save space?
Not necessarily. Include the kettle, grinder, filters, drying area, and storage. Compare the whole setup with a single machine.
Should the station stay on a tray?
Only if the tray helps contain small items without compromising appliance placement. Check dimensions, stability, heat suitability, and how easily the area can be cleaned.
Sources and shopping references
Sources checked October 9, 2026. We compare setup requirements, without claiming hands-on brewing or flavor tests.
Check the details before you buy.
Compare current dimensions, materials, care instructions, and return terms at the retailer.